Download for Windows
How To Install
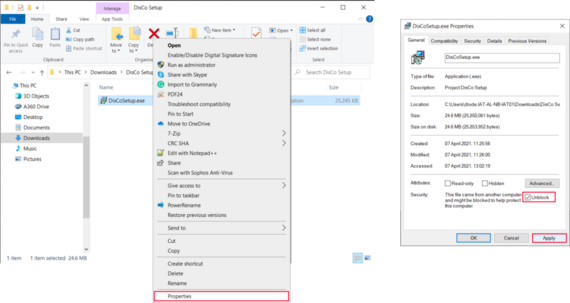
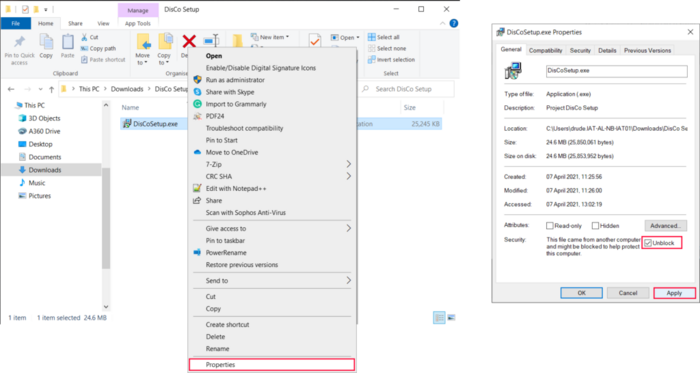
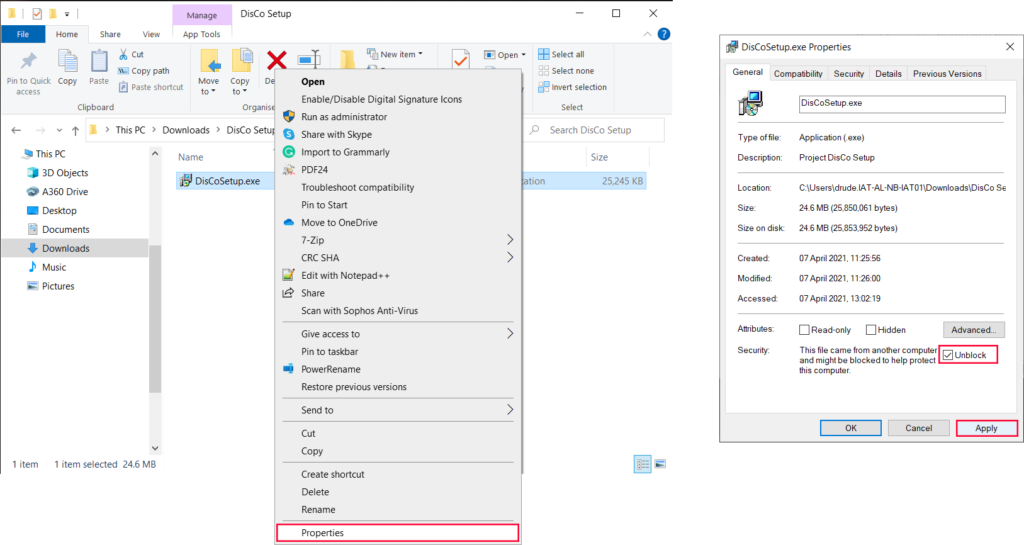
Please follow these steps to successfully install Project DisCo on your Windows machine. After the download is completed you will need to right-click the setup file and go to Properties. Click the unblock check-box in the lower right corner and click Apply.
This is necessary, because Windows Smart Screen is designed to protect the user from possibly malicious software from unknown sources. While this is a good idea in general, Microsoft makes it especially difficult for small developers to attain a certificate, outsourcing it to third party vendors, who charge annual fees. This gives an unfair disadvantage to small developers especially in the open-source community because it requires developers to pay a fee to distribute their free software. Unblocking the setup eliminated the need for a certificate.
Download for Mac
How to Install
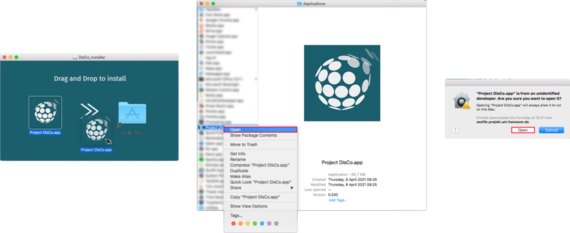
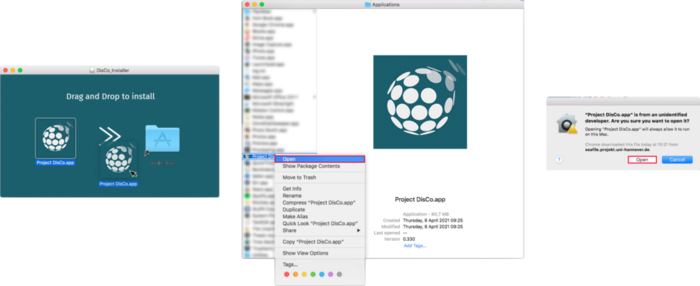
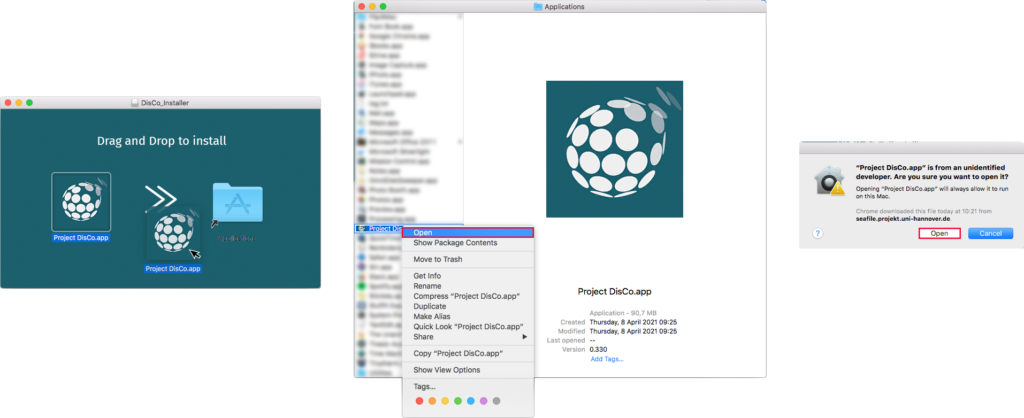
Please follow these steps to successfully install Project DisCo on your Mac. After the download is completed you will need to mount the image and drag the Project DisCo Icon into the Applications folder. To open Project DisCo for the first time, right-click the application file in your applications folder and click open. A warning will appear, notifying you, that I am not a certified Apple developer, you will have to click Open, to run Project DisCo.
This is necessary, because MacOS protects users from possibly malicious software, by requiring developers, to sign their software with a certificate. I am not a Mac user and certainly not a Mac developer, doing all my development on Windows, which is why I don’t hold a developer certificate from Apple. By clicking Open, you tell your operating system, to trust Project DisCo without this official signature, which I would like to invite you to do.
